AFTER EFFECTS PLUGIN · SMEAR
ASheng
Smear
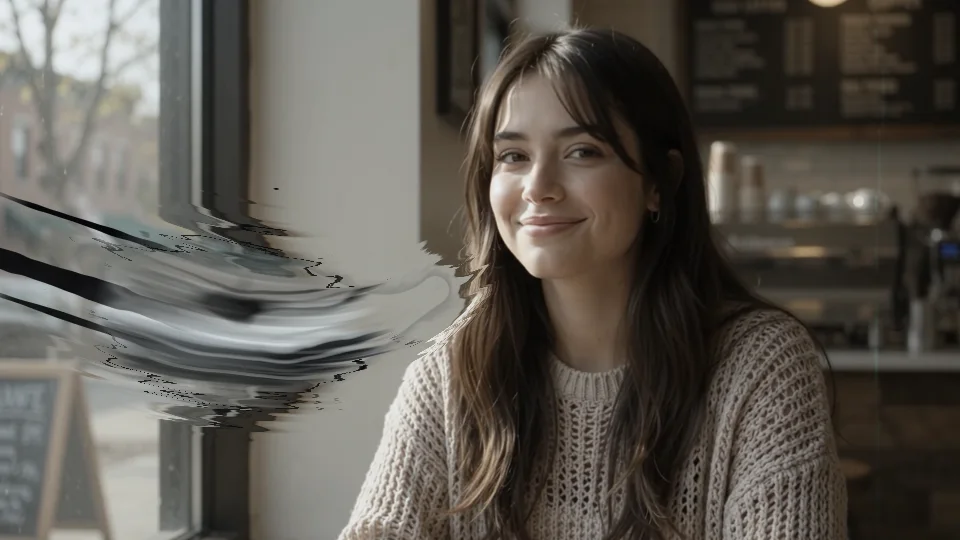
Drag the picture
along one brushstroke.
Smear samples color at the start point and smears a continuous bundle of varying-width bristles along a curved path, with bristle and dry-brush texture; dye and running ink can go on top, and source scratches are scraped out on the start side. Drag the path right in the viewer: pull the curve by hand and add points for more turns. Works on text, photos and video; the stroke draws itself and can keep flowing. 4 built-in presets, fine-tuned with the sliders.
10 USD · 365-day license · 1 Mac
Output is watermarked until a license is activated. The license runs from the time of purchase and does not auto-renew; buy another to keep using it after it expires. The Golden Pass already includes Smear. Prices follow the live plan on the purchase page.
Stroke · Path
One stroke —
how it bends and how thick is up to you.
“Start Point” is where the stroke begins; “Direction” and “Length” set where and how far it drags; “Bend” curves the path and “Bend Position” sets where along it the bend sits. Drag the bend handle in the viewer and these values follow. For a freer path, click the line to add a “Path Point”; the stroke passes smoothly through each one, points can be dragged, double-click deletes. “Width” is the whole bundle’s width. The three images below use the same photo and start point.
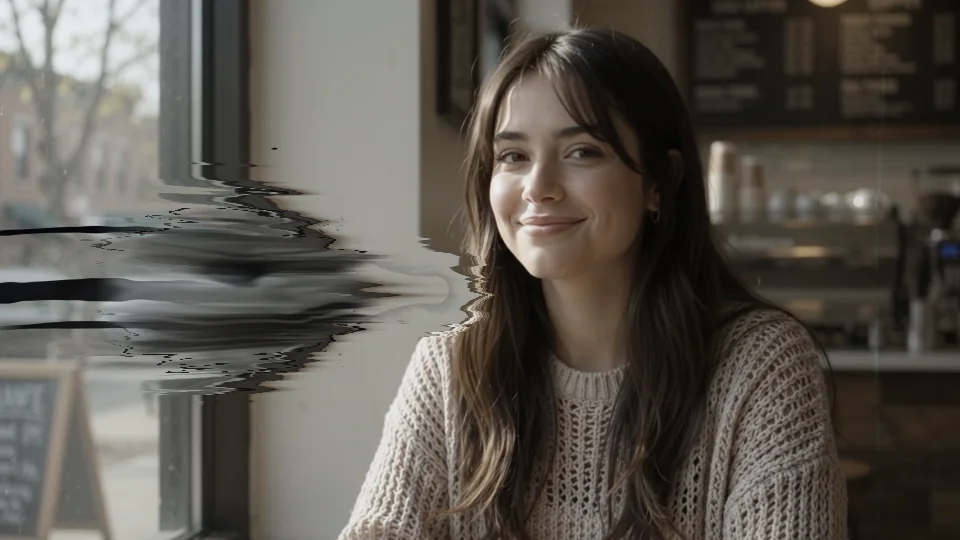
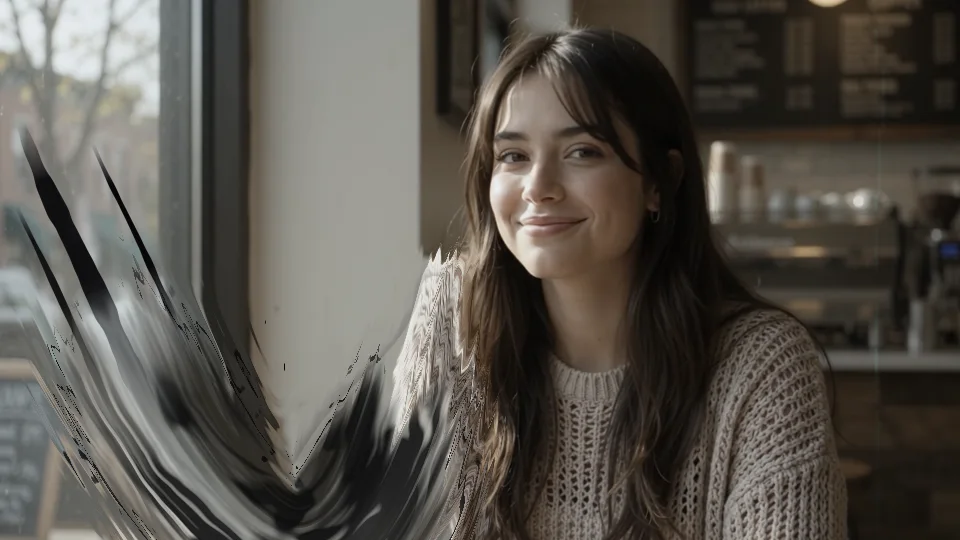
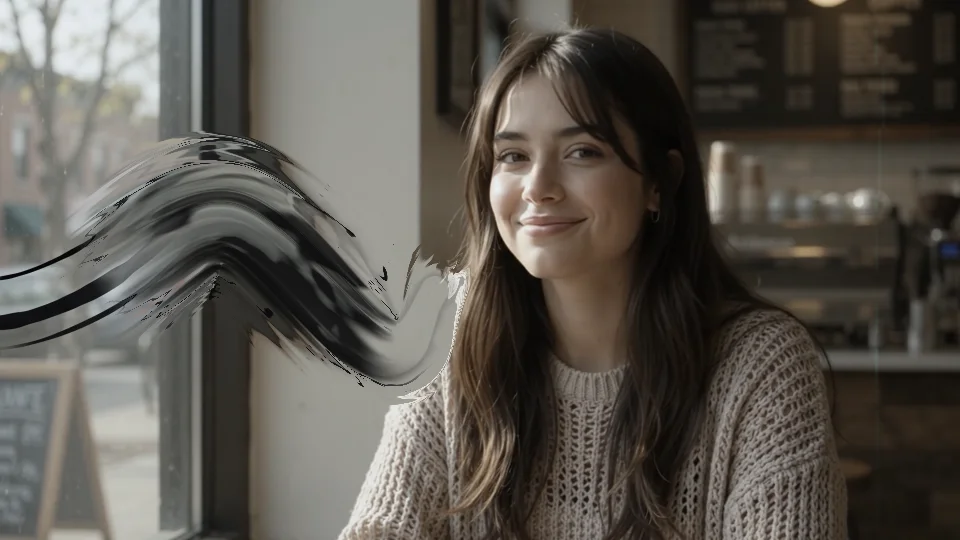
Stroke · Width and sampling
The width varies,
and you choose where the paint comes from.
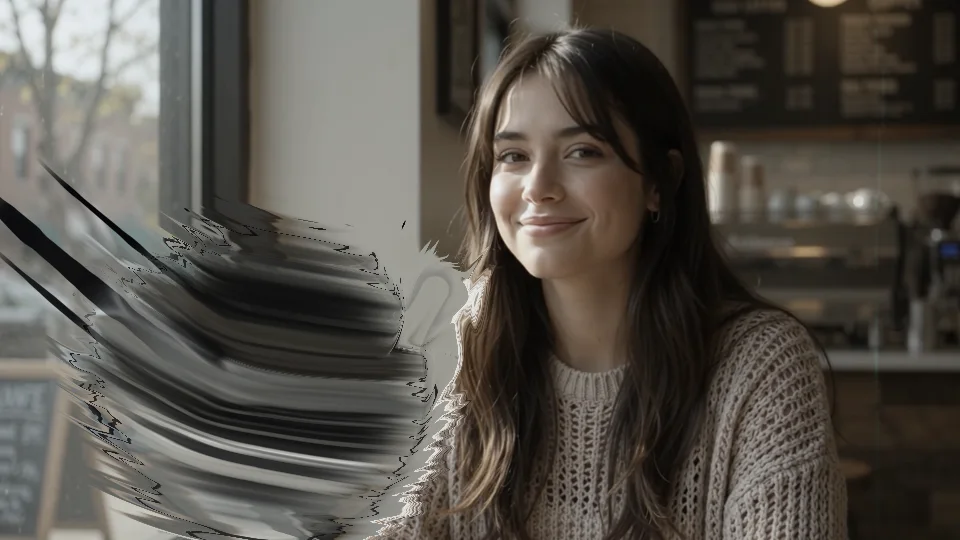
Width Curve varies the width from start to tail: the curve’s left is the start, right is the tail, 1× is the width set above, up to 2×. Two Modes: “Smear” samples color at the start point and smears outward; “Pull” samples from a circular area (or a closed mask) and pulls the paint along the path, with “Pull Source Away” optionally emptying the sampled area. The path can also follow an open guide mask.
Text layers
Text works too —
the letterforms dragged out in one stroke.
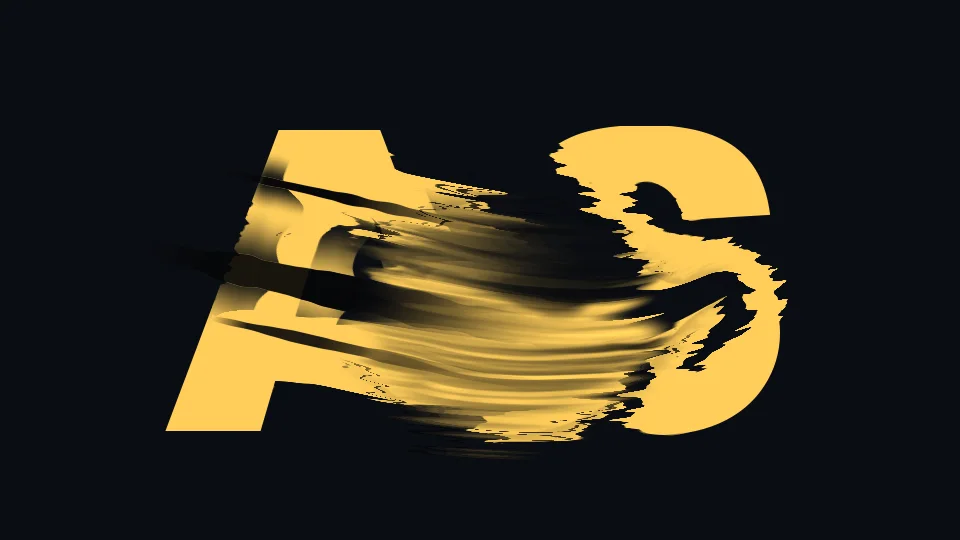
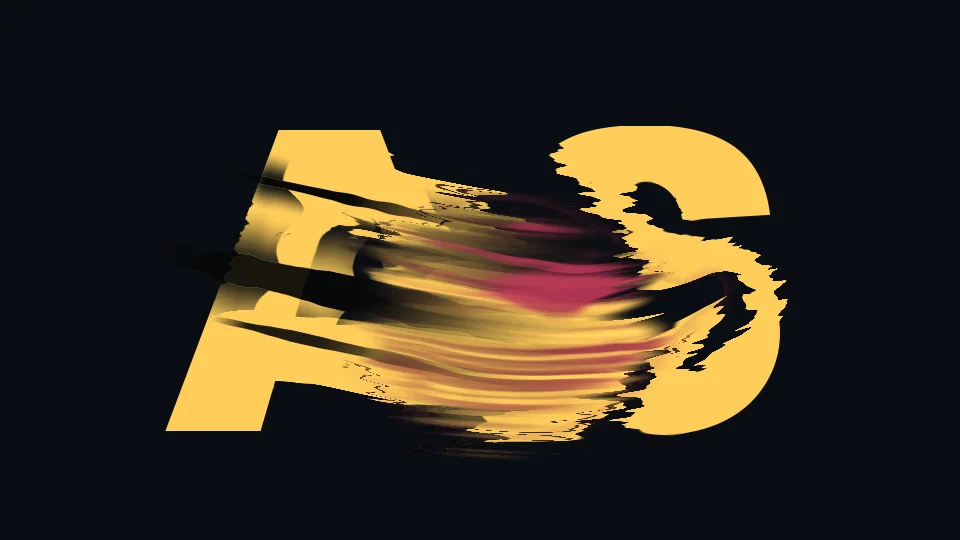
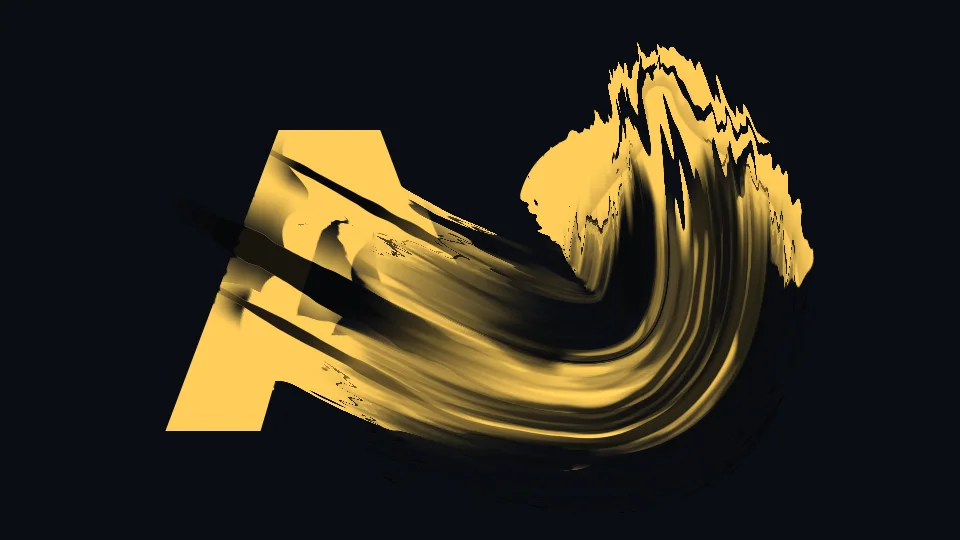
Smear applies directly to text layers. Everything below is the same “AS” with only the settings changed: the flowing version keeps its color moving forward; the static one holds still; the dyed one stains pink ink into the letters; the curved one pulls the stroke into a wide arc.
Smear · Texture
The brush’s texture:
dry brush and bristles, both adjustable.
“Smear Amount” sets how far the color is dragged; “Bristle Width” is the width of a single hair — thinner is silkier, thicker is more like bands of color; “Dry Brush” opens dry gaps at the stroke edge that show the picture beneath; “Taper” thins the tail; “Source Blend” decides how the start transitions from the original to the stroke. Each pair below is the same stroke with one parameter changed.
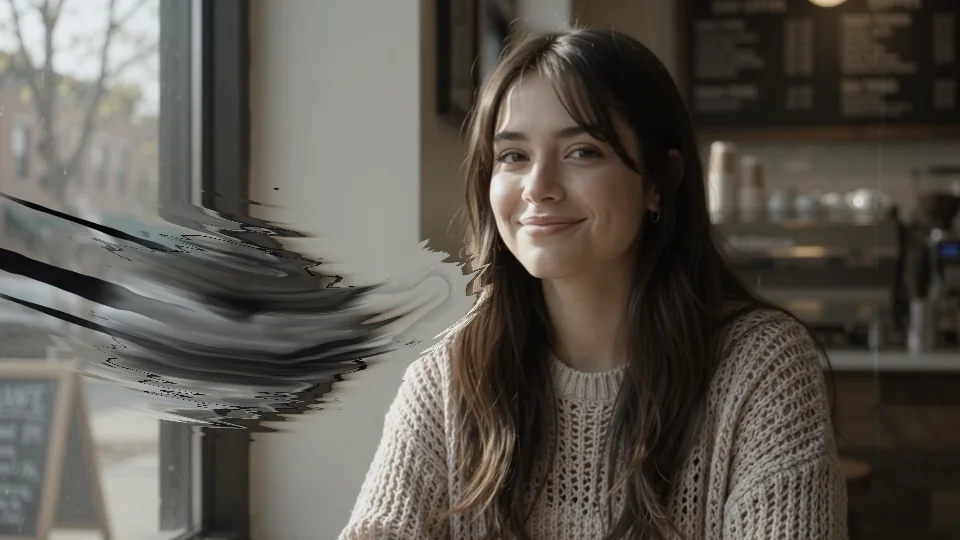
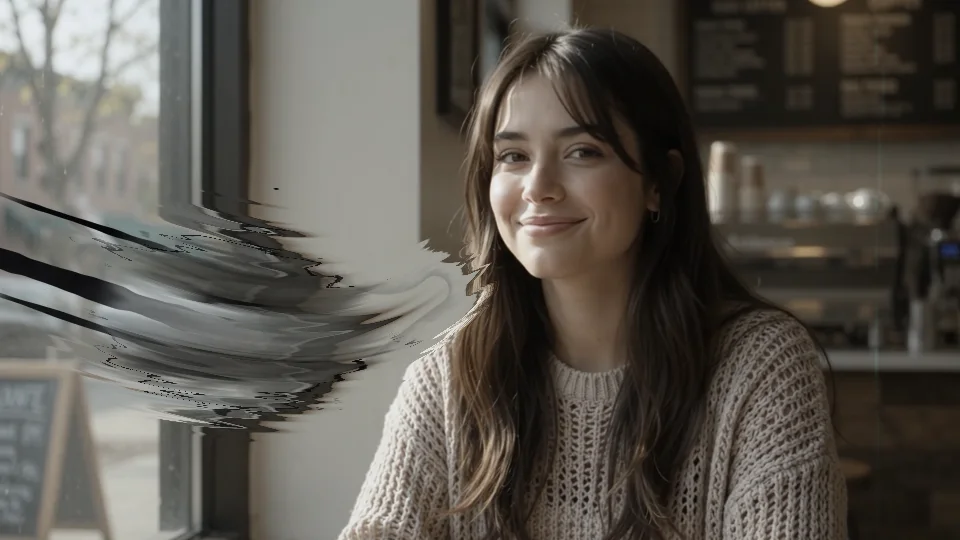
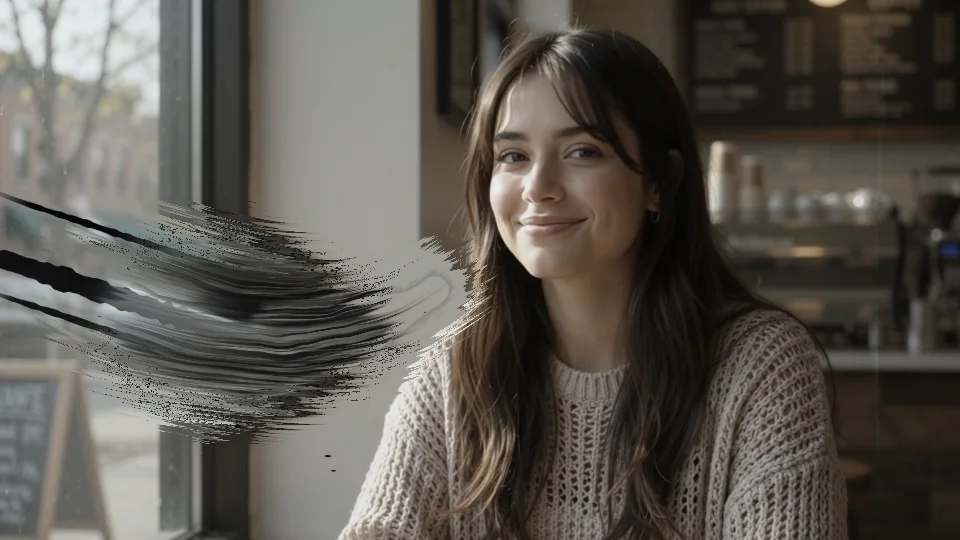
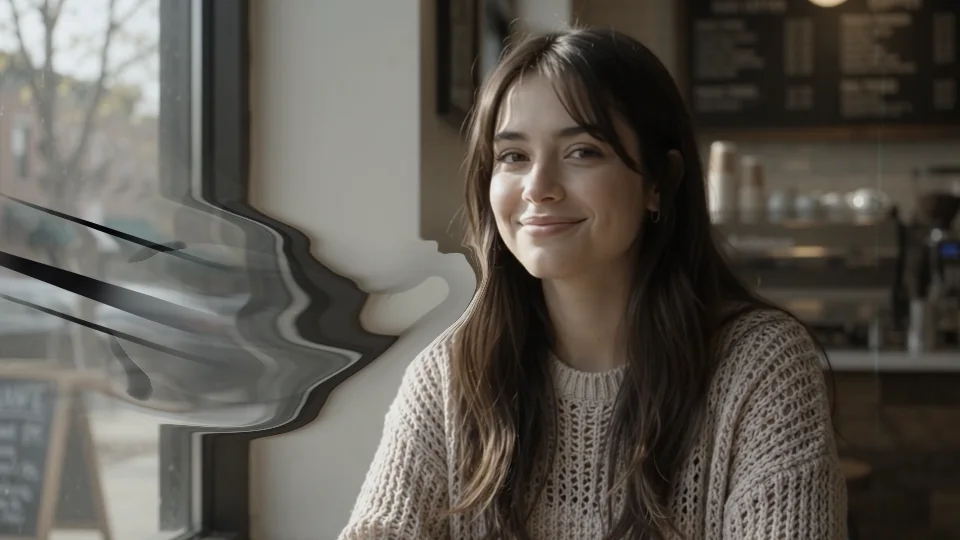
Dye
The paint stains,
the ink runs on its own.
“Density” sets how heavily it stains. “Dye Style” is Wet (diffuse, lighter) or Hard (dense, hard-edged); color can be a solid or a two-color gradient shifting from start to tail. “Turbulence” makes the ink appear and mingle like smoke in water. “Run-off” grows thin rivulets of ink from the tail, with “Run Length” and “Rivulet Count” setting how long and how many.
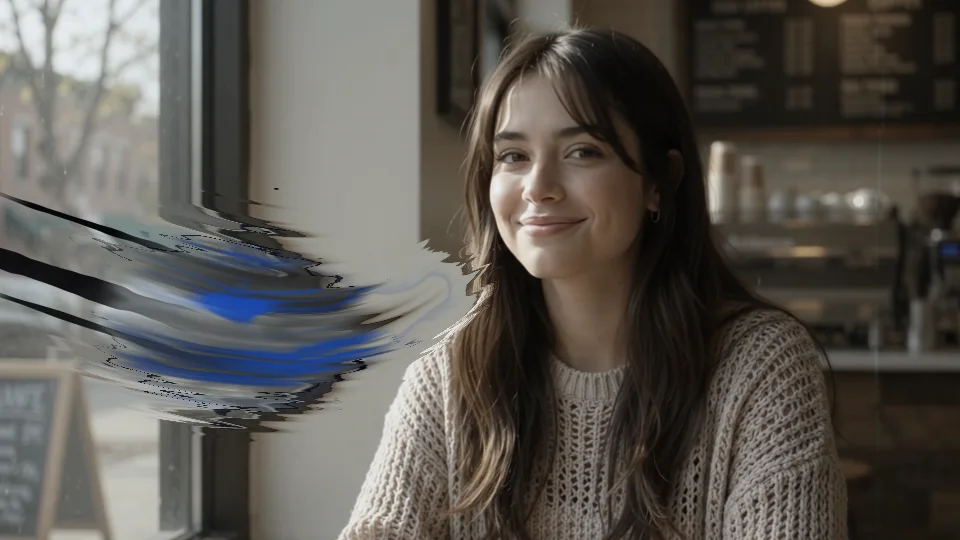
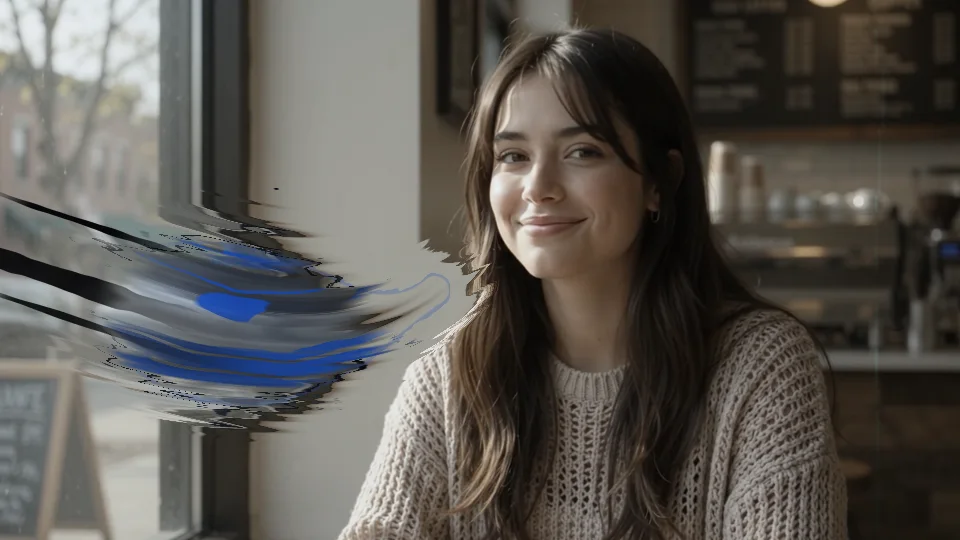
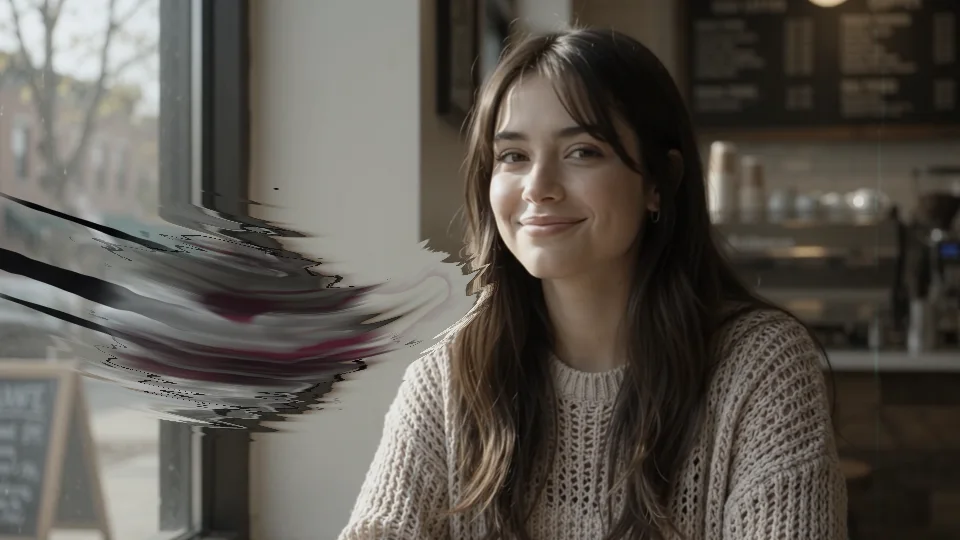
Source scratches
On the start side,
the bristles scrape out streaks.
Scratches grow from the start point toward the “source” side: the bristles scrape long streaks into the original image along the stroke, echoing the smear on the other end. Four “Kinds”: furrow, hair, dry brush, mixed; “Method” makes them ink marks, cut-outs, or drags the color along; “Coarse” and “Fine” take a count each, and “Scratch Length” and “Spread” set how far and how wide. The three images below are the same stroke with Method set to ink.
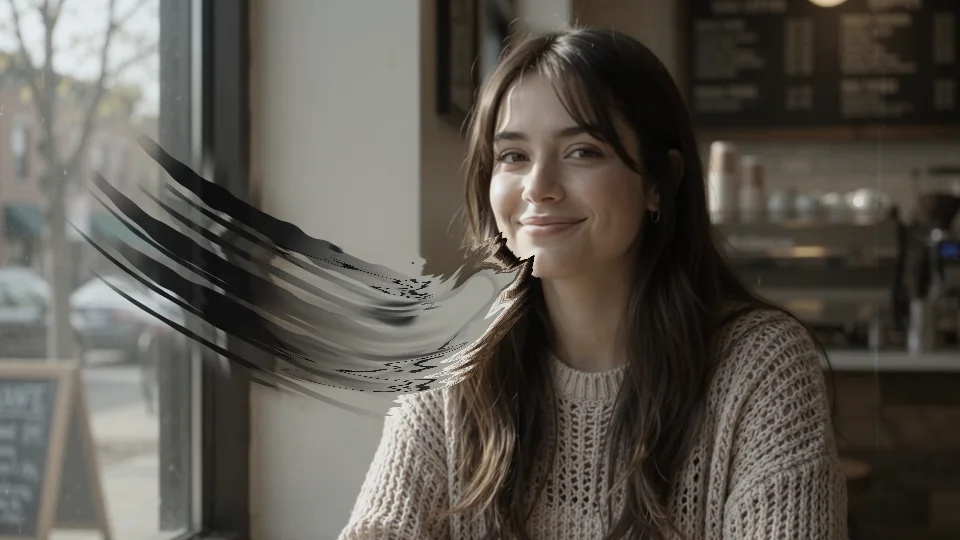
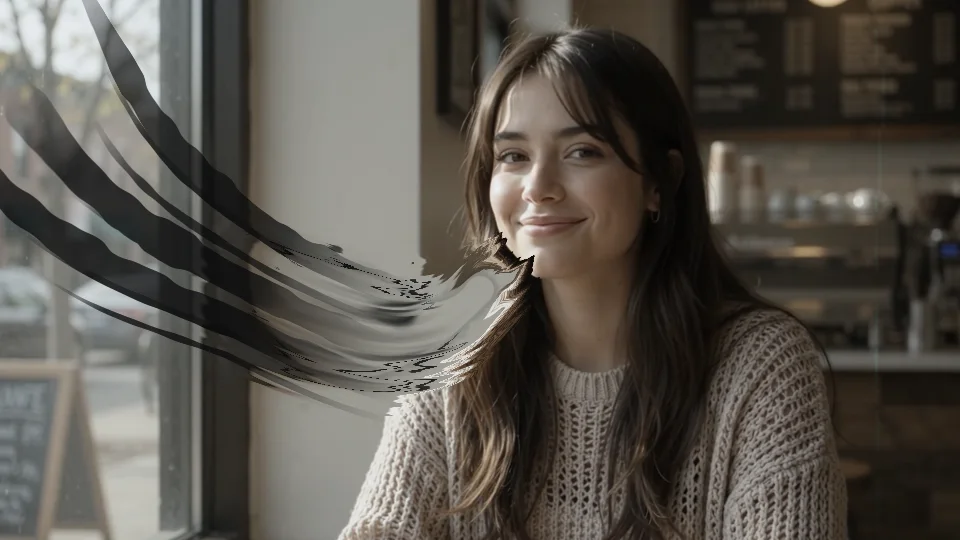
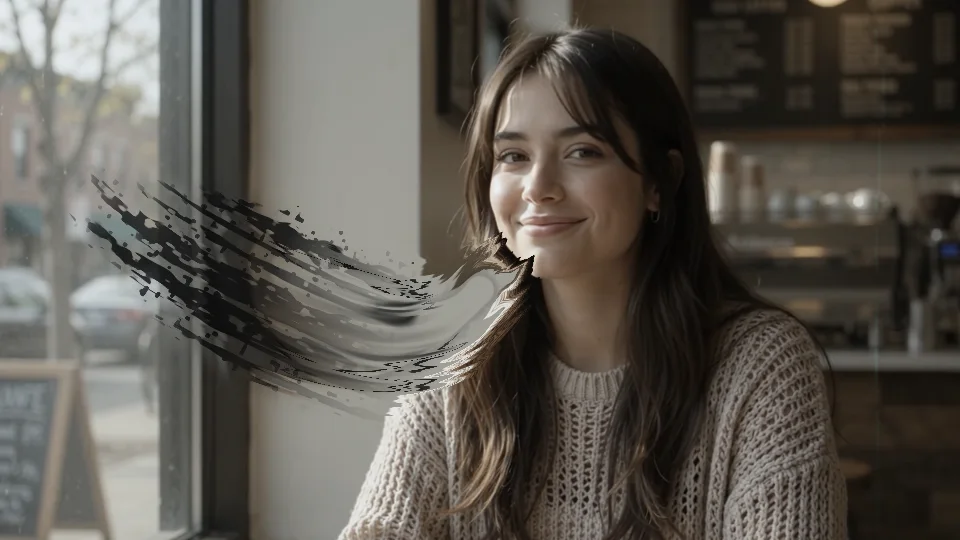
Animation
The stroke draws itself,
or keeps flowing.
Three “Animation” modes. Auto Draw: the stroke draws out from the start, the ink runs a while, then dries and stops; “Draw Time” and “Dry Time” are adjustable. Continuous Flow: paint keeps flowing forward along the stroke, good for endless loops; “Flow Speed” is in px/s and “Stop Flow” slows it to a halt at a set time. Manual: keyframe “Progress” from 0 to 100 yourself. “Exit Time” wipes the stroke away from start to tail, revealing the original. Animation is computed directly from time, so reverse play and scrubbing give identical results.
4 built-in presets
Dry brush, poster, silk, loaded paint —
one click to apply.
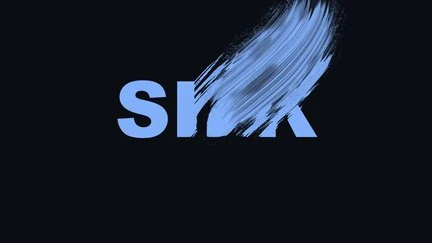
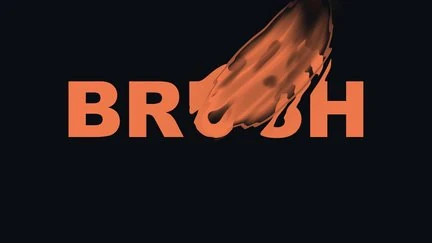
The library ships 4 presets: Dry Stream, Poster Pull, Silk Ribbons, Loaded Paint. Each is a full parameter snapshot you can fine-tune after applying and save as your own; the library is shared, so your presets sit alongside. Presets never move your start point or change your chosen mask. All thumbnails are actual plugin renders.
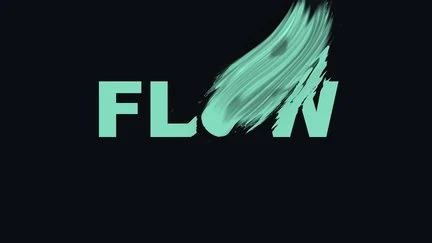
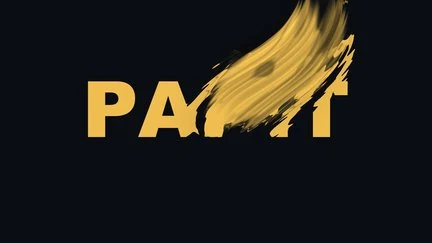
Getting started
Three steps to get going.
Requires an Apple Silicon (M-series) Mac, macOS 14 or later and After Effects 2026. No Intel Mac or Windows version yet.
- Download the installer
Click “Download for Mac” on this page and unzip. The installer is notarized by Apple.
- Quit AE, then install
Save your project, quit After Effects fully with Cmd+Q, then run the installer; the 4 built-in presets are added to the preset library at the same time.
- Add it to a layer
Reopen AE, find ASheng_Smear under “ASheng - Stylize”, add it to a text, photo or video layer, place the start point, then pick a preset or set each control yourself.
Good to know
Where is it in AE?
Under “ASheng - Stylize” in the Effect menu; the name is ASheng_Smear.
Can it go on text?
Yes. Text, photo and video layers all take it directly; the “AS” above is applied straight to a text layer.
Is it one stroke per effect?
Yes. One Smear effect draws one stroke; for more, apply more instances, each with its own start point, direction and settings.
What is the difference between Smear and Pull?
Smear samples color at the start point and smears outward; Pull samples from a circle or a closed mask and pulls the paint along the path, optionally with “Pull Source Away”.
Do I need keyframes to make it move?
No. The default is continuous flow, so the paint runs as soon as it is applied. For frame-level control set “Animation” to Manual and keyframe “Progress” from 0 to 100.
Is the result the same when scrubbing?
Yes. Animation is computed directly from time with no dependence on the previous frame, so reverse play, frame jumps and multi-frame rendering all match.
Does the Golden Pass cover it?
Yes. The Golden Pass covers every ASheng AE plugin, including future releases, so Smear activates directly.
Which bit depths are supported?
8-bit, 16-bit and 32-bit float are all supported.
Does it use the GPU?
Yes. “GPU Acceleration” is on by default and renders on the Apple Silicon GPU (Metal); if the GPU is unavailable it falls back to the CPU with the same picture, just slower.
Does it support Premiere Pro?
After Effects only for now.
Can I use it without a license?
Yes, you can try it with a watermark on the output. With a valid Smear license NFT or Golden Pass, click the status button at the top of the effect panel (showing “Trial”) to open the license helper and activate.