AFTER EFFECTS PLUGIN · TRANSITION
ASheng
FireTransition
Let the picture
burn away.
Apply it to the layer that should disappear; a fire starts where you say, and the picture burns away piece by piece to reveal the layer beneath. Seven flame types, ignition position and radius, wind, smoke and scorch marks are all adjustable; on the last frame, fire, smoke and sparks are always fully cleared, nothing to patch by hand.
15 USD · 365-day license · 1 Mac
Output is watermarked until a license is activated. The license runs from the time of purchase and does not auto-renew; buy another to keep using it after it expires. The Golden Pass already includes FireTransition. Prices follow the live plan on the purchase page.
Ignition
Where the burn starts
is up to you.
“Ignition Direction” can be bottom, top, left, right, random, or “Ignition Points”: place up to 3 draggable points, each with an “Ignition Radius” that catches fire all at once before spreading outward. Orange circles are drawn in the comp viewer; drag them to resize. “Reverse” flips the whole order, “Pattern Size” sets how coarse the burning edge is, and a new “Seed” gives a new burn.
Flames
Seven flames,
not just a color change.
Each flame has its own height, flicker, color temperature, smoke color and sparks: paper, campfire, candle, gas blue, gasoline, alcohol, smoldering. The panel sliders (flame height, intensity, tongue width, rise speed, flicker, hue, sparks, glow, heat distortion) multiply onto the flame’s native look, so switching flame type never scrambles the values you have already set.
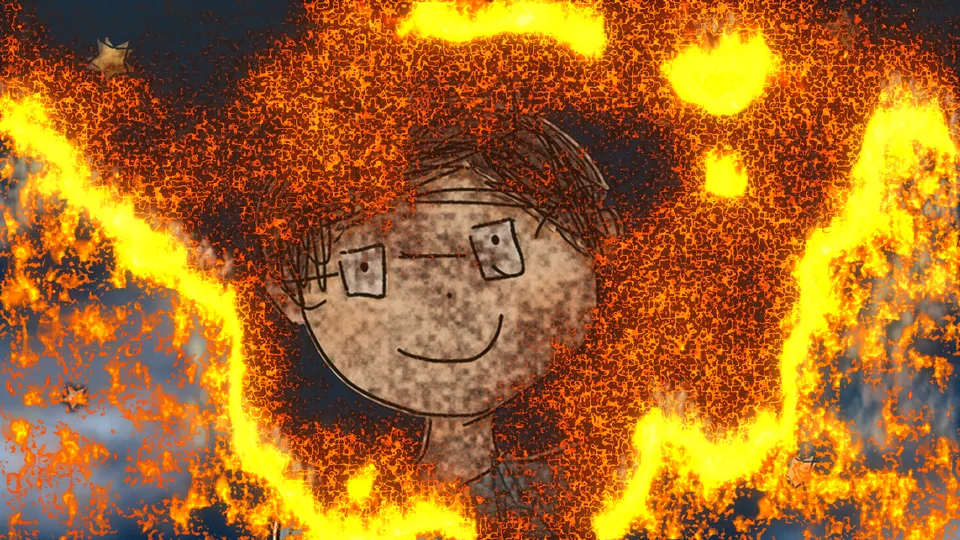
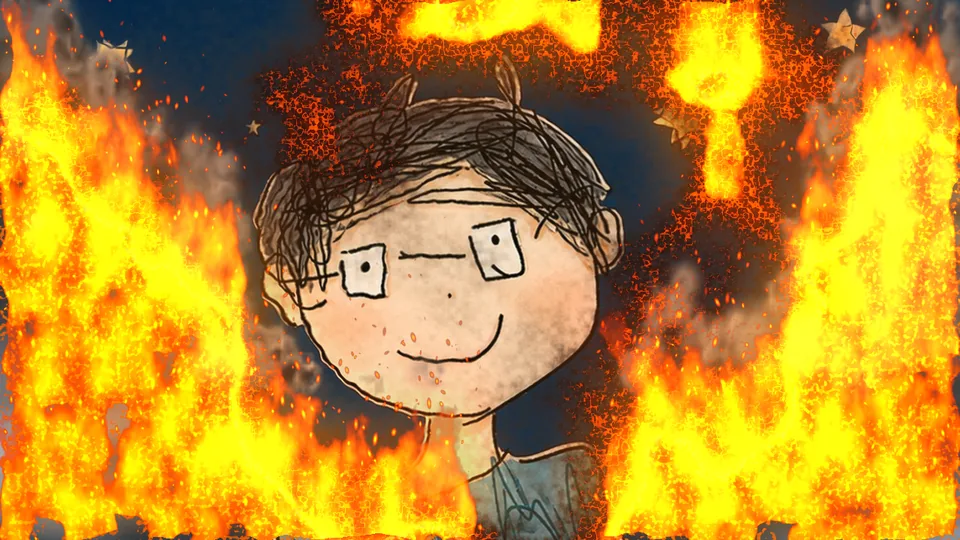
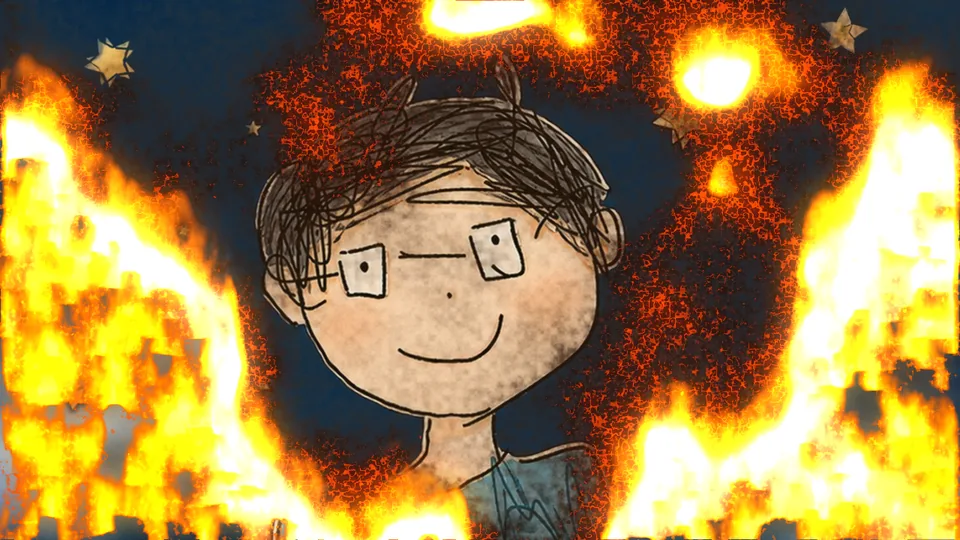
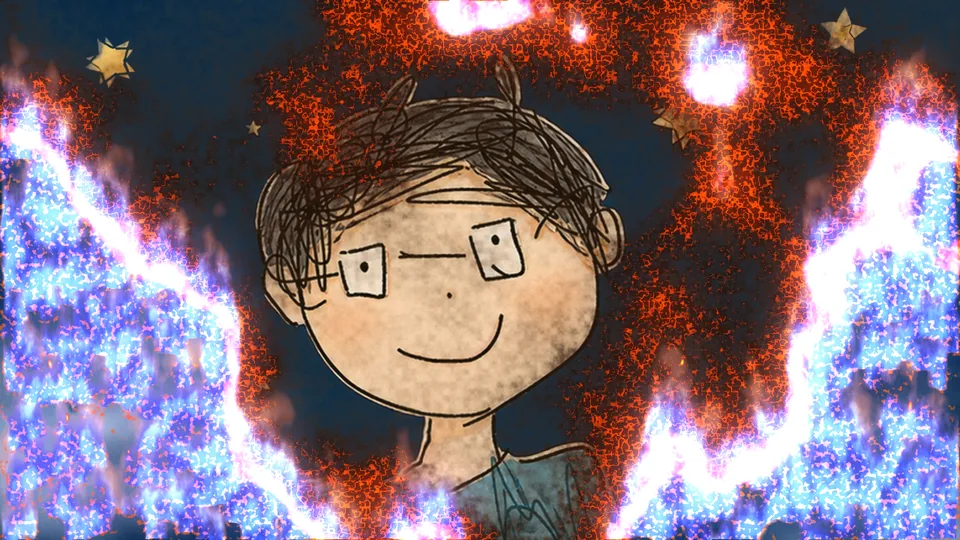
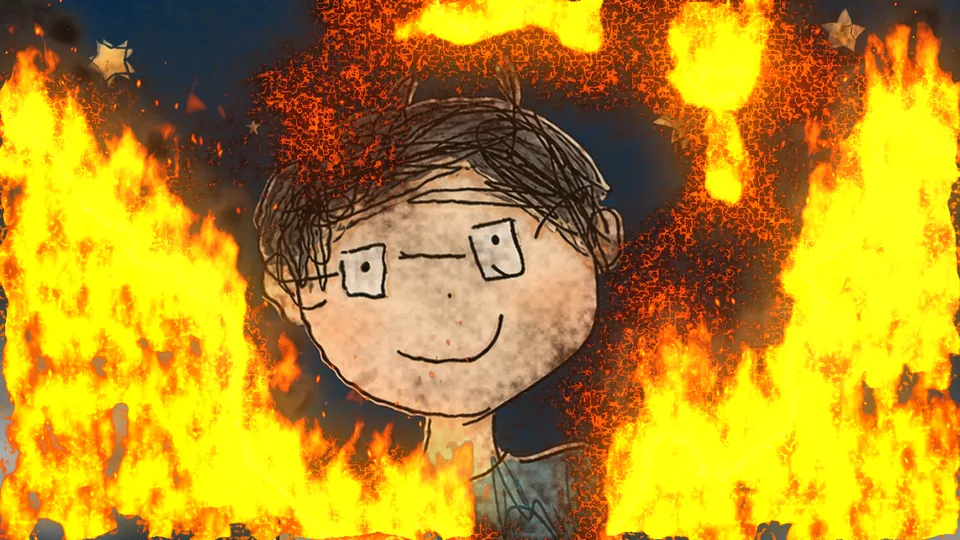
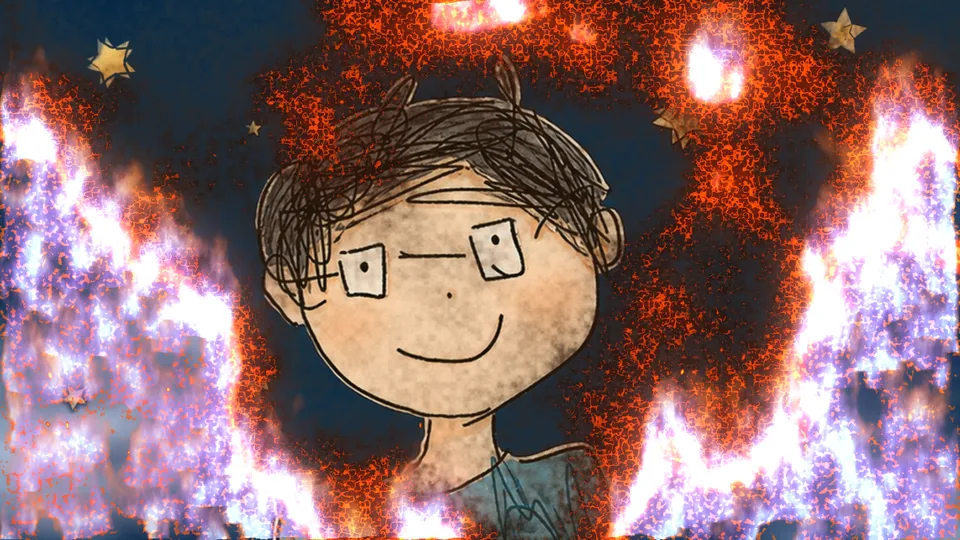
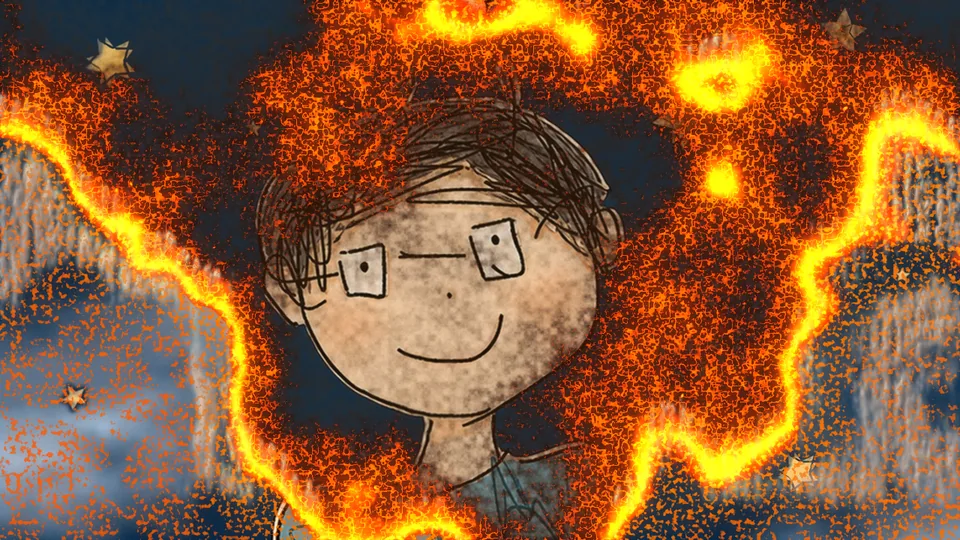
Change “Flame Type” and it burns differently; for your own color, spin “Flame Hue”.
Wind and smoke
When the wind blows,
fire and smoke lean together.
“Wind” runs from −100 to 100, negative to the left and positive to the right; “Gusts” make it come in bursts, and “Turbulence” varies direction and strength over position and time instead of one uniform direction. The wind’s range can be everything, a circle, or a mask, so only part of the frame is blown.
Five kinds of smoke, each with its own shape
“Smoke Type” can follow the flame type (Auto) or be set on its own — wisps, white, gray, thick black, billowing — without changing the fire or the scorch. You can also choose where smoke rises (the whole edge, a few spots, a few columns), its density variation, darkness, how much the fire lights it, and how fast it dissipates.
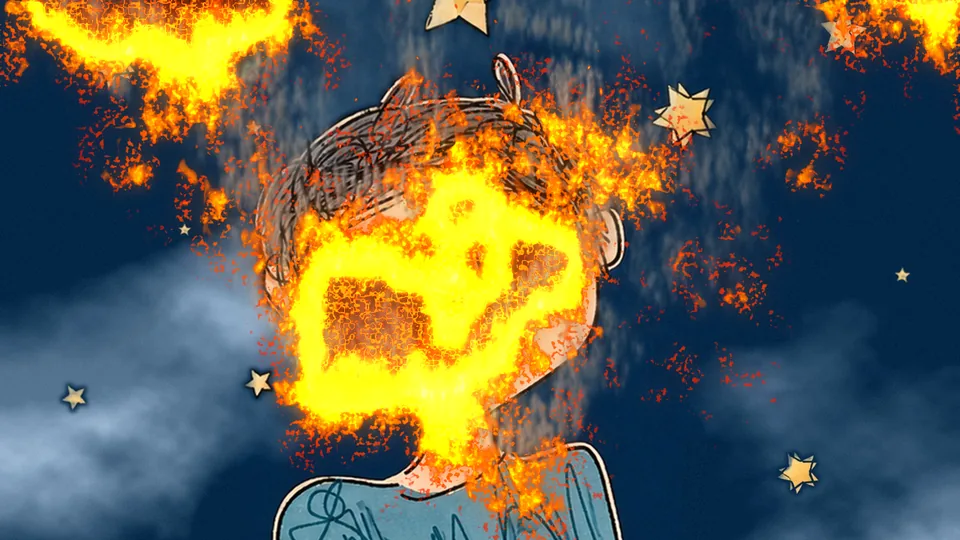
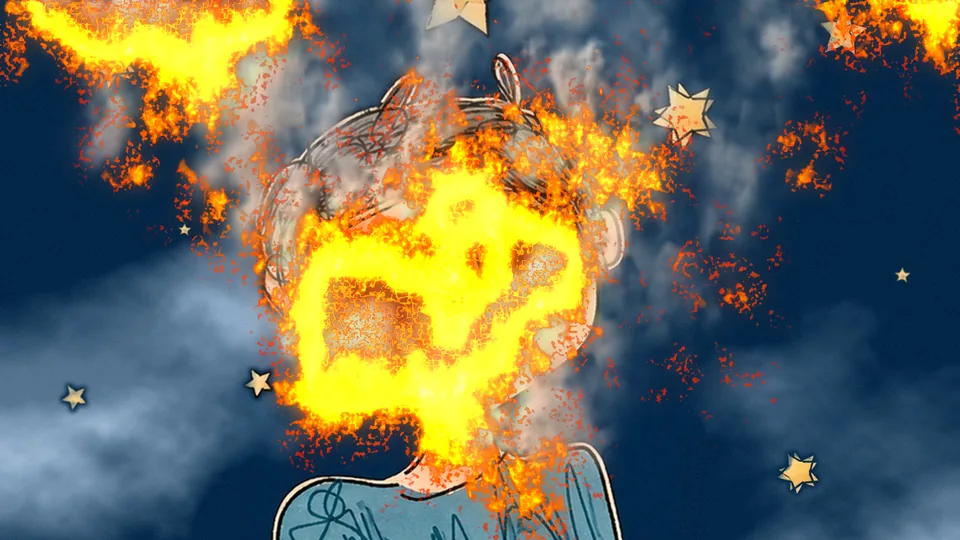
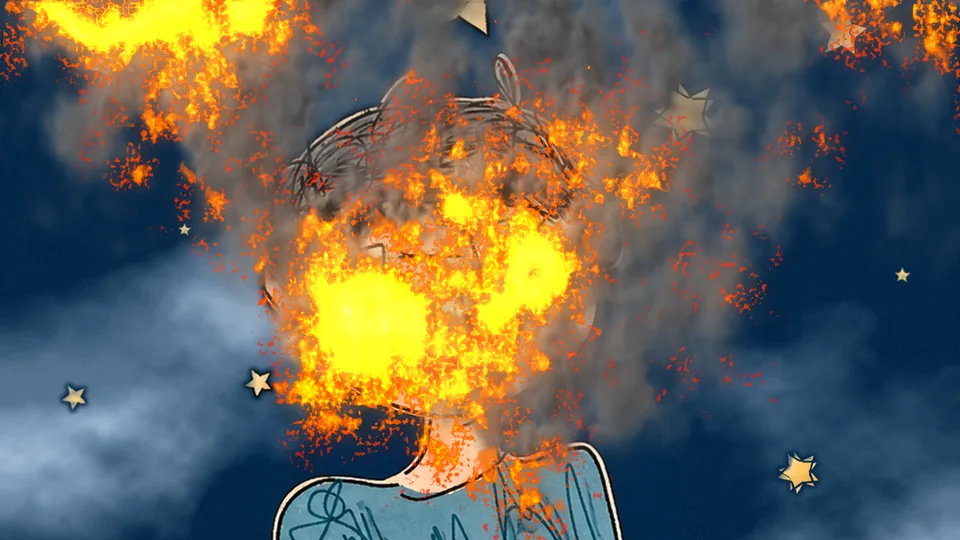
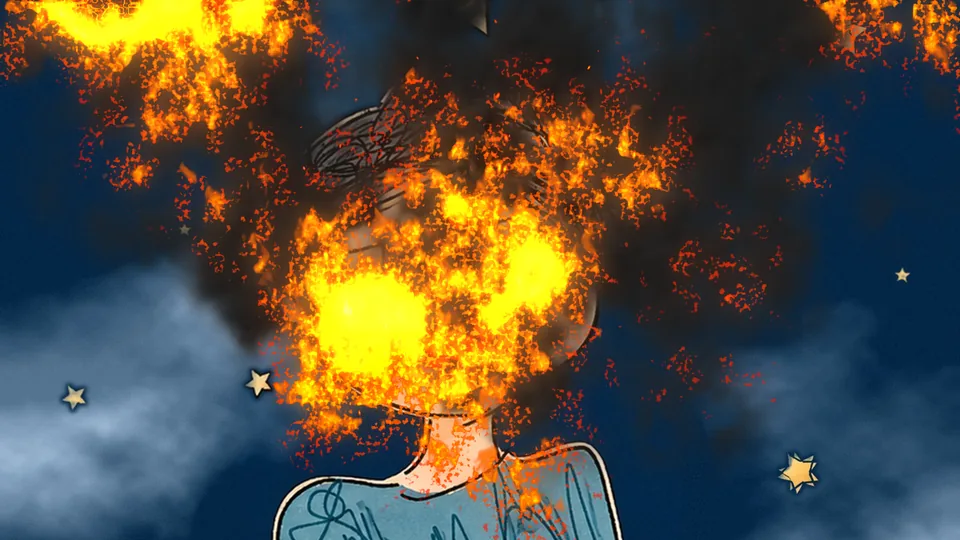
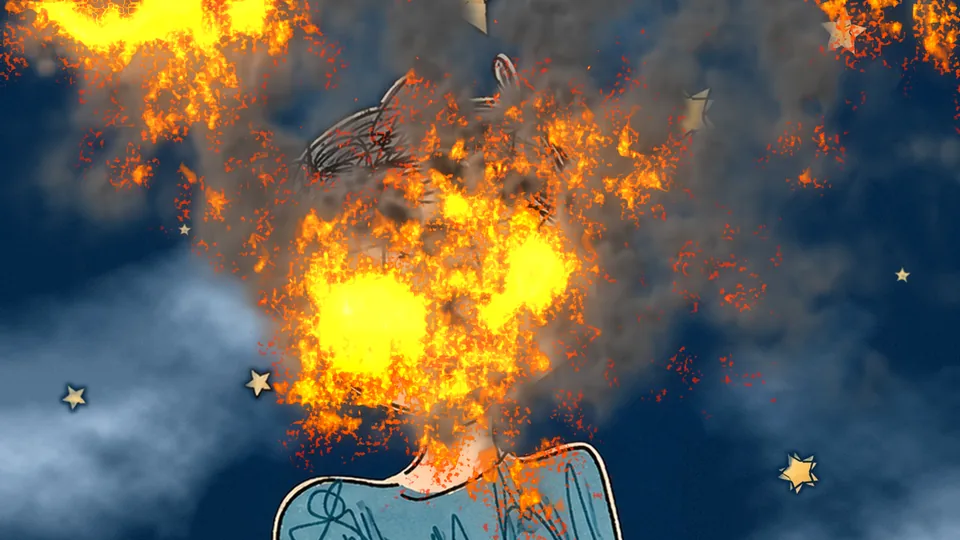
The base of the smoke nearest the fire glows orange, returning to its own color higher up.
Scorch
Detail before the fire arrives
and after it has passed.
Before the fire arrives the picture yellows and browns (scorch); the burning edge has a ring of char and a glowing ember line; burnt areas leave gray-white ash that flakes away, then dark red glows slowly die out with thin smoke (smolder). Five sliders: scorch, char width, ember line, ash, smolder — turn them down for a clean cut, up for a charred ruin.
⏩ Auto transition
No keyframes —
the transition burns itself out.
Set “Burn Mode” to “Burn In at In Point” and the layer burns in from its start; “Burn Out at Out Point” burns it away at the end; “Both” does both. “Burn Duration” sets the whole transition length, including fire, embers and smoke clearing. For manual control choose “Manual Progress” and keyframe 0 to 100%.
The transition always ends clean: burning out, the layer’s last frame is fully transparent; burning in, the final frame is the untouched source with no smoke, sparks or scorch left over. Below is the last second of one transition: fire out, smoke gone, only the picture beneath remains.

More
Fire reaches past the layer,
and the output bounds grow automatically.
Flames, smoke and sparks extend beyond the layer bounds and the plugin enlarges the output area so nothing is clipped. “GPU Acceleration” is on by default, with flame shading, glow and noise on the Apple Silicon GPU (Metal); it falls back to the CPU with identical results when the GPU is unavailable. 8-, 16- and 32-bit color are supported.
What’s different
Making a burn transition —
FireTransition wants to cost you less time.
| What you want | The usual way | ASheng FireTransition |
|---|---|---|
| The picture burning away | Overlay fire footage, align it by hand and mask it | The fire follows the burning edge and the picture really burns away |
| Choosing where it burns | Footage has a fixed direction; moving it means redoing it | Bottom, top, left, right, random, or up to 3 ignition points with radius |
| Changing the flame | Swap in different footage and regrade | Seven flames in one dropdown, smoke switchable on its own |
| Wind direction | Footage direction is fixed | Wind, gusts, turbulence, and wind on just part of the frame |
| A clean ending | Fade out the fire and smoke layer by layer yourself | On the last frame, fire, smoke and sparks are always cleared |
Getting started
Three steps to get going.
Requires an Apple Silicon (M-series) Mac, macOS 14 or later and After Effects 2026. No Intel Mac or Windows version yet.
- Download the installer
Click “Download for Mac” on this page and unzip. The installer is notarized by Apple.
- Quit AE, then install
Save your project, quit After Effects completely with Cmd+Q, then open the installer.
- Add it to the layer that should disappear
Reopen AE, find ASheng_FireTransition under “ASheng - Elements”, add it to the layer to be burned and put the next picture beneath it; set “Burn Mode” to auto and it burns at the layer’s in or out point.
Good to know
Where is it in AE?
Under “ASheng - Elements” in the Effect menu; the name is ASheng_FireTransition.
Does the Golden Pass cover it?
Yes. The Golden Pass covers every ASheng AE plugin, including future releases, so FireTransition activates directly.
How do I make a transition?
Put the layer that should disappear on top and the next picture beneath it, and add FireTransition to the top layer. With “Burn Mode” set to “Burn Out at Out Point”, the layer burns away in its final stretch to reveal the picture below; choose “Burn In at In Point” to burn in from the start.
Does the fire get clipped at the layer bounds?
No. Flames, smoke and sparks extend past the layer and the plugin enlarges the output area automatically.
Which bit depths are supported?
8-, 16- and 32-bit are all supported.
Does it use the GPU?
Yes. “GPU Acceleration” under “Output” is on by default and renders on the Apple Silicon GPU (Metal); when the GPU is unavailable it falls back to the CPU with the same picture, only slower. This option is a per-machine preference and is not saved into presets.
Can I use it without a license?
Yes, you can try it with a watermark on the output. With a valid FireTransition license NFT or Golden Pass, click “Activate / Manage License” in the “License” group of the effect panel to activate.