AFTER EFFECTS PLUGIN · NOISE
ASheng
Noise
29 noise types,
one plugin.
From clouds, mist, smoke and caustics to Perlin, cellular and cracks, the noise is generated directly with no footage needed. Gradient coloring, and three sliders — highlights, shadows, hardness — dial in the contrast you want; the noise flows, loops seamlessly, and can grow only inside text or shapes.
1 USD · 365-day license · 1 Mac
Output is watermarked until a license is activated. The license runs from the time of purchase and does not auto-renew; buy another to keep using it after it expires. The Golden Pass already includes Noise. Prices follow the live plan on the purchase page.
⏩ Motion
The noise isn’t static —
it flows.
Set “⏩ Motion” to slow, medium or fast and the noise moves on its own with no keyframes. Six flow modes: drift, expand, contract, orbit, churn, vortex; for manual control choose “Custom” and set flow speed and evolution.
Set “Loop Seconds” to 4 and the frame at 4 s is identical to 0 s, joining into a seamless loop. All four clips above were rendered that way; they replay on this page with no visible seam.
Highlights · Shadows · Hardness
Forget brightness and contrast —
adjust the highs and lows directly.
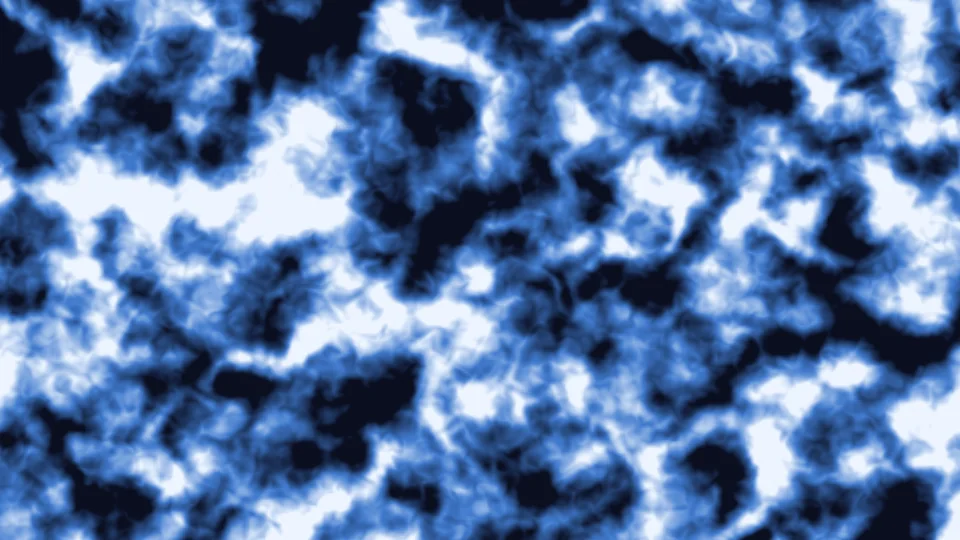
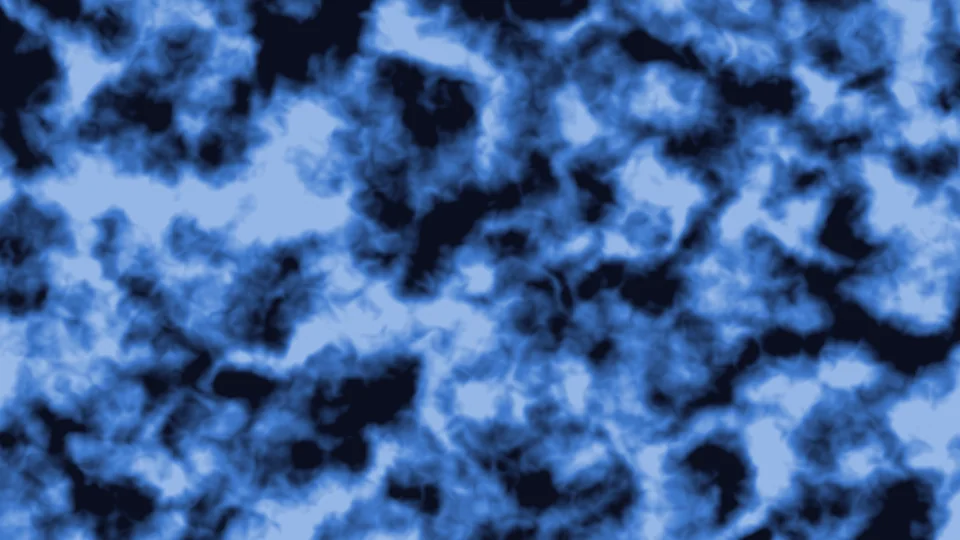
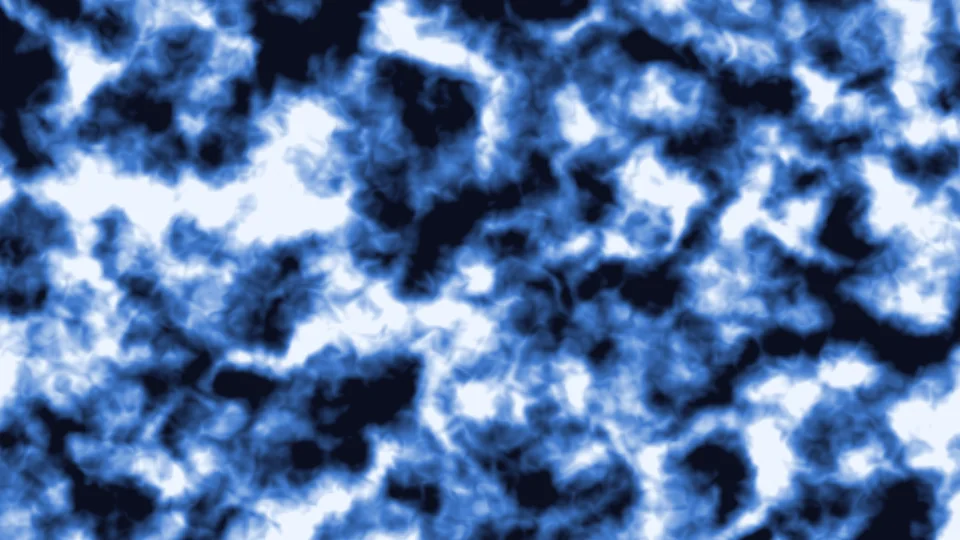
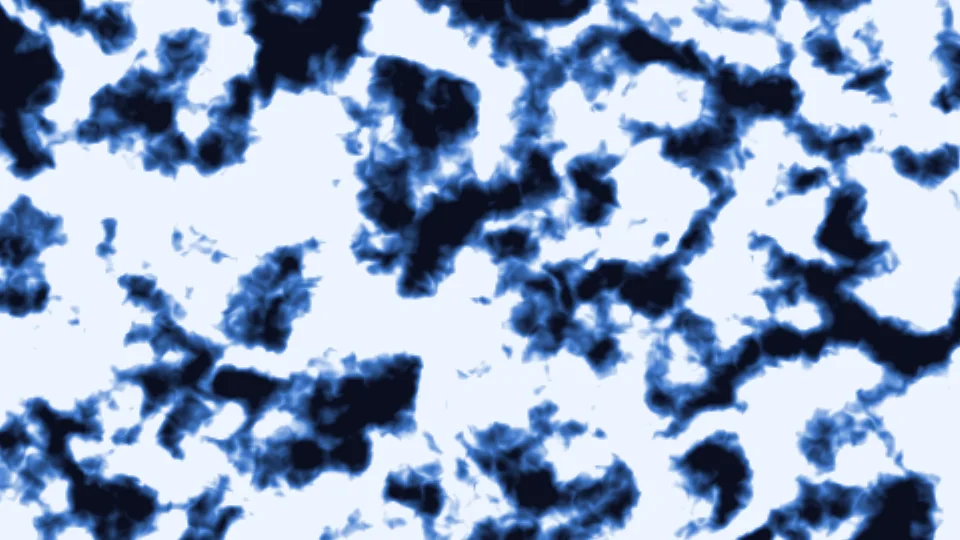
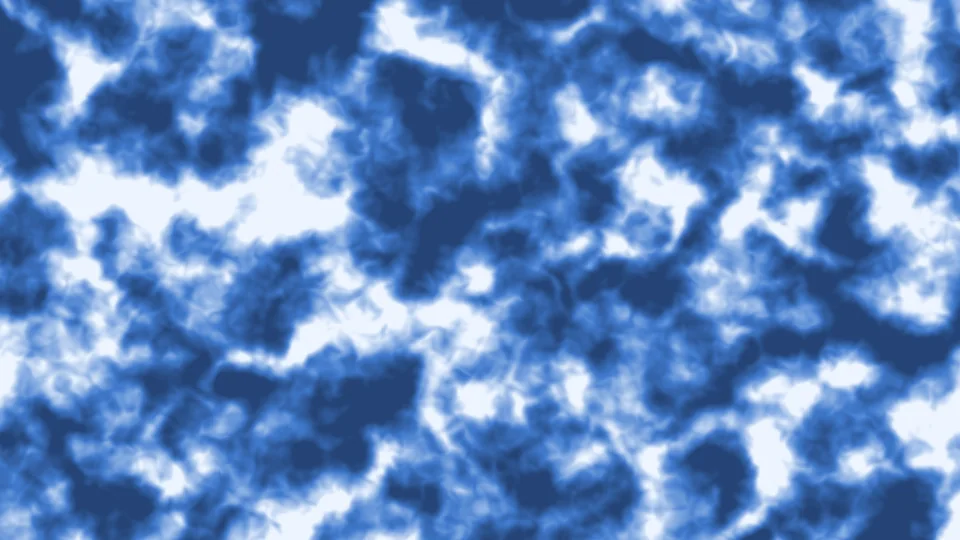
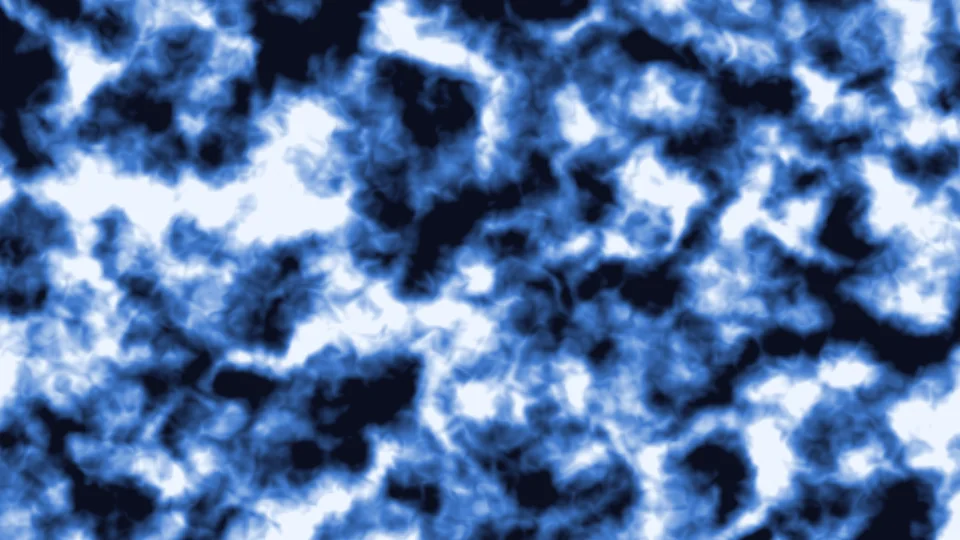
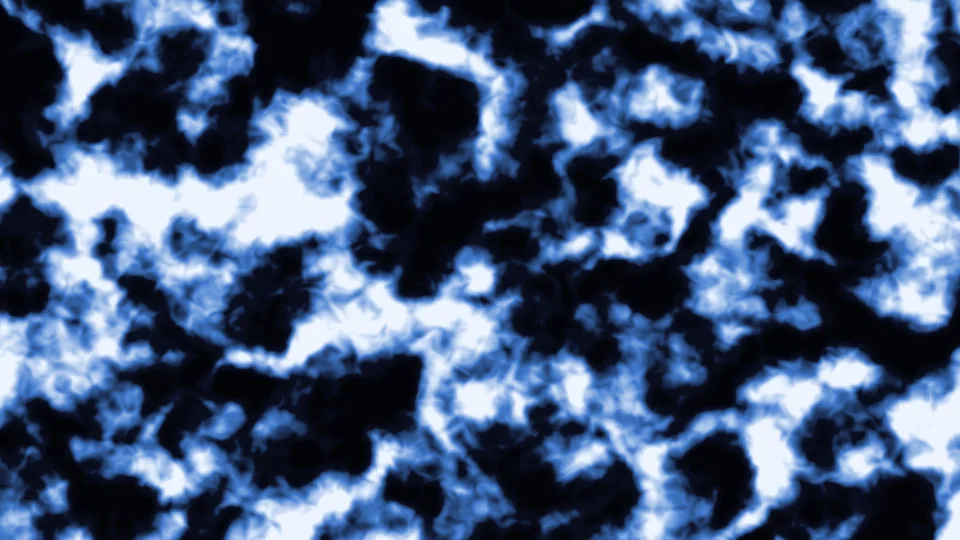
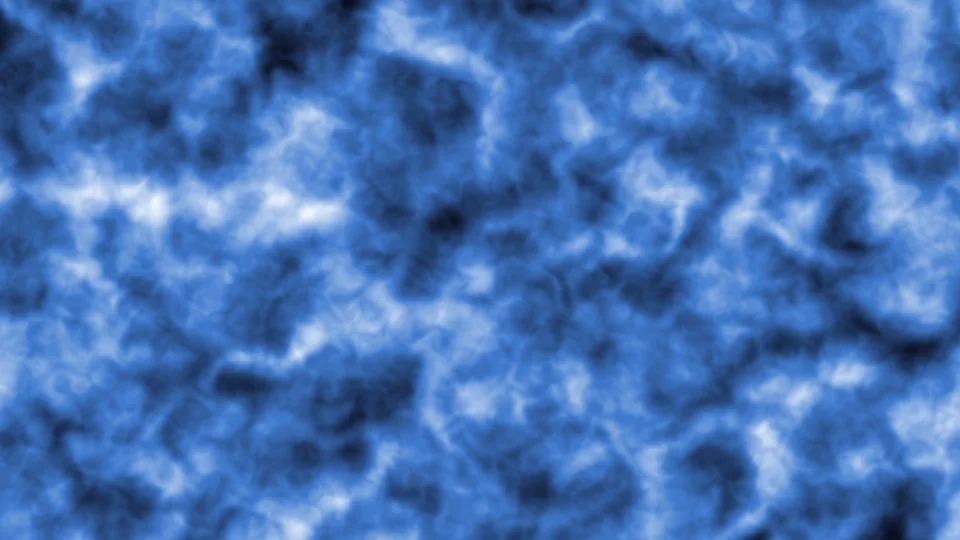
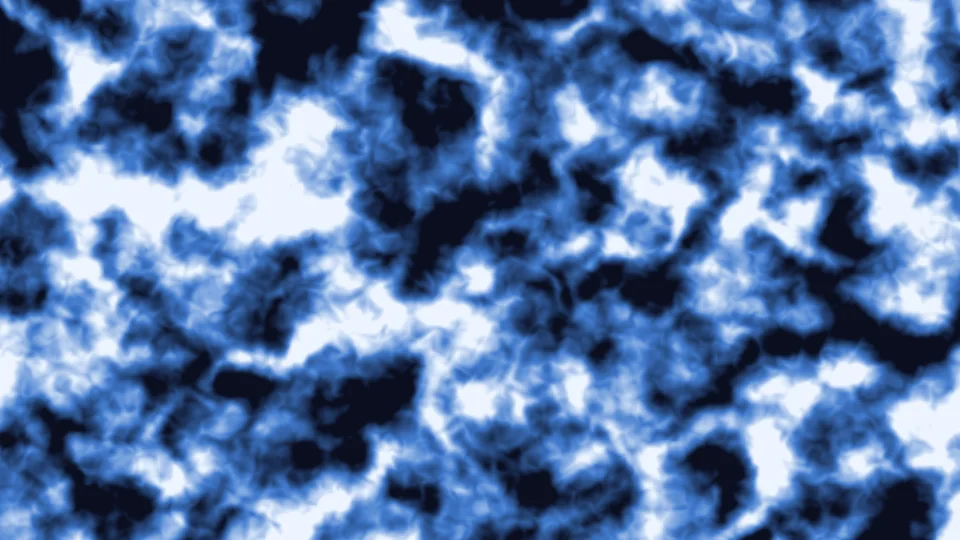
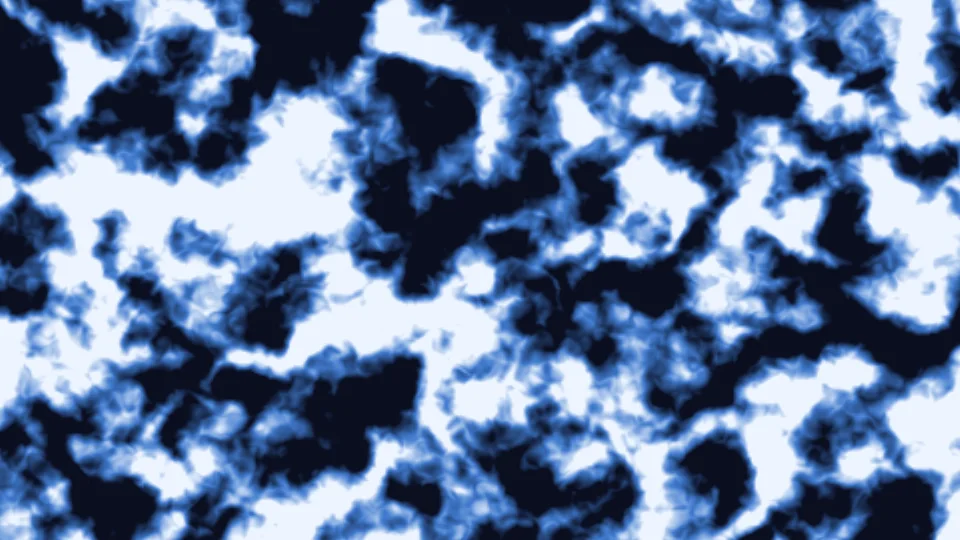
Three sliders, with 100% meaning “as is”. Highlights affects only the bright areas; above 100% they get brighter and larger. Shadows affects only the dark areas; above 100% they go deeper than the gradient’s lowest color, pressing toward black. Hardness sets whether the light-dark boundary is soft or hard.
Highlights %
Shadows %
Hardness
Detail · Size
Texture up close,
shape from afar.
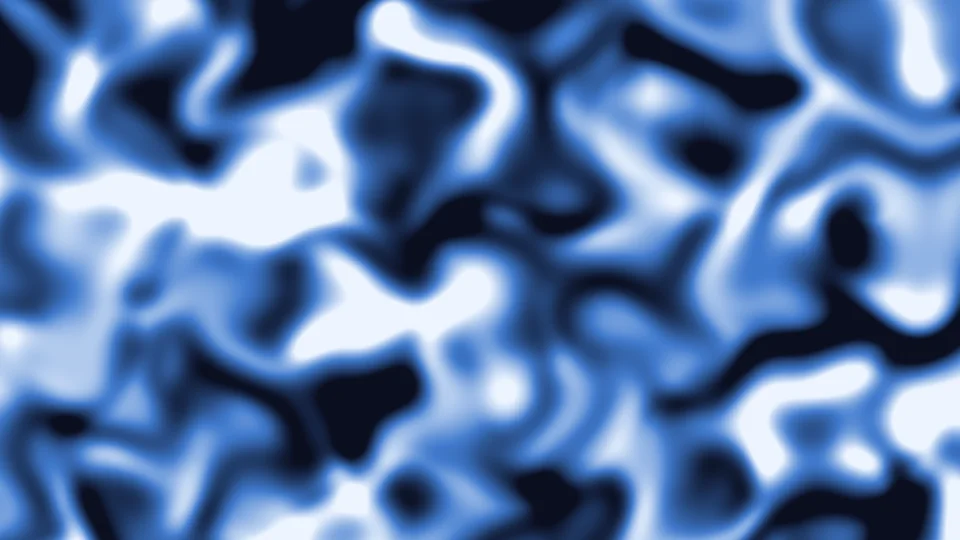
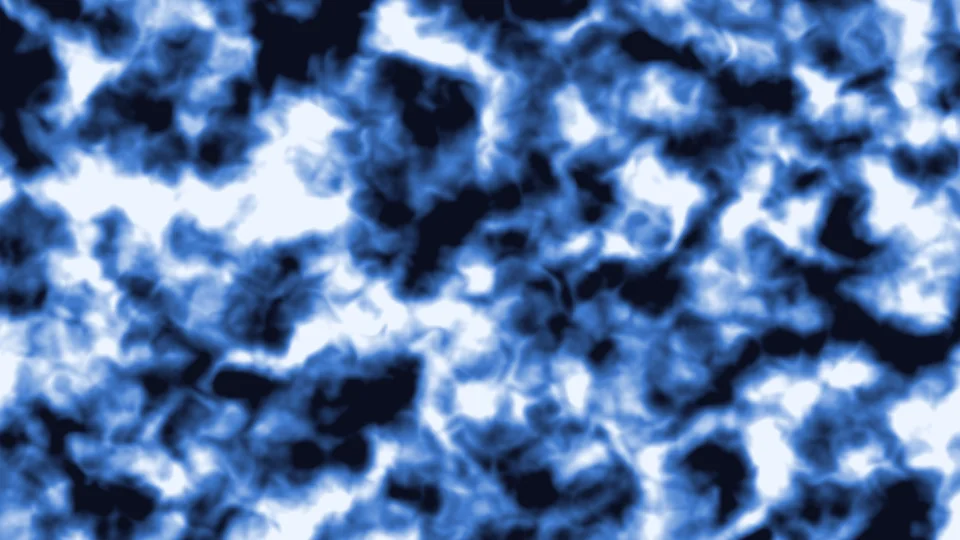
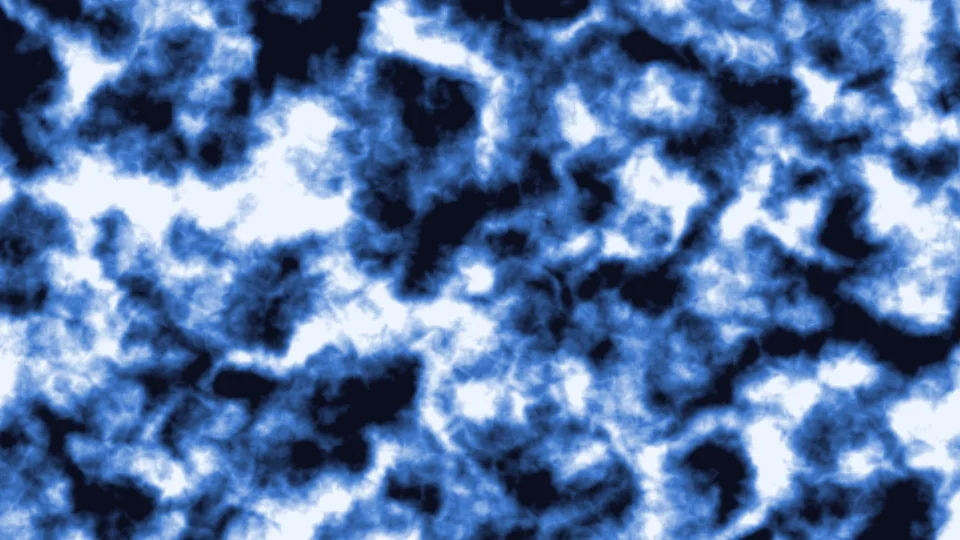
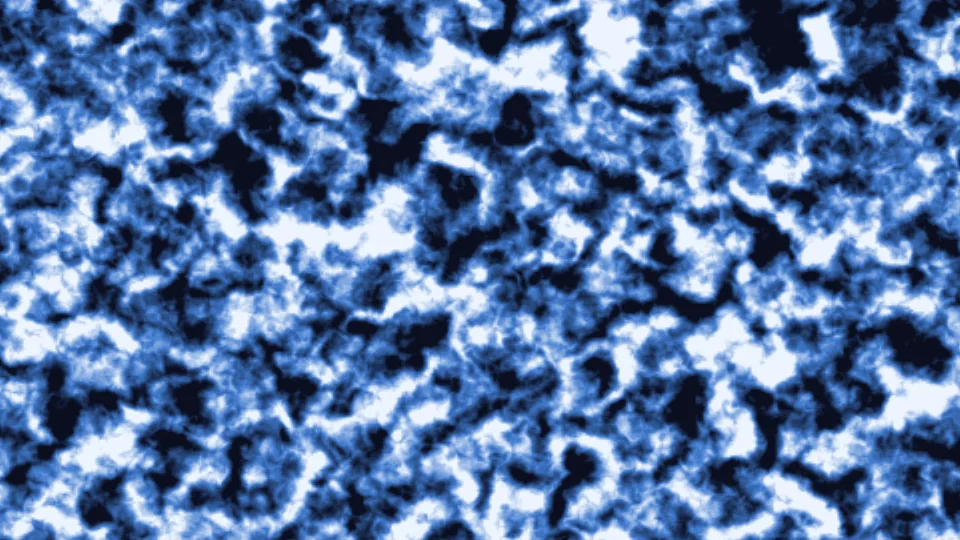
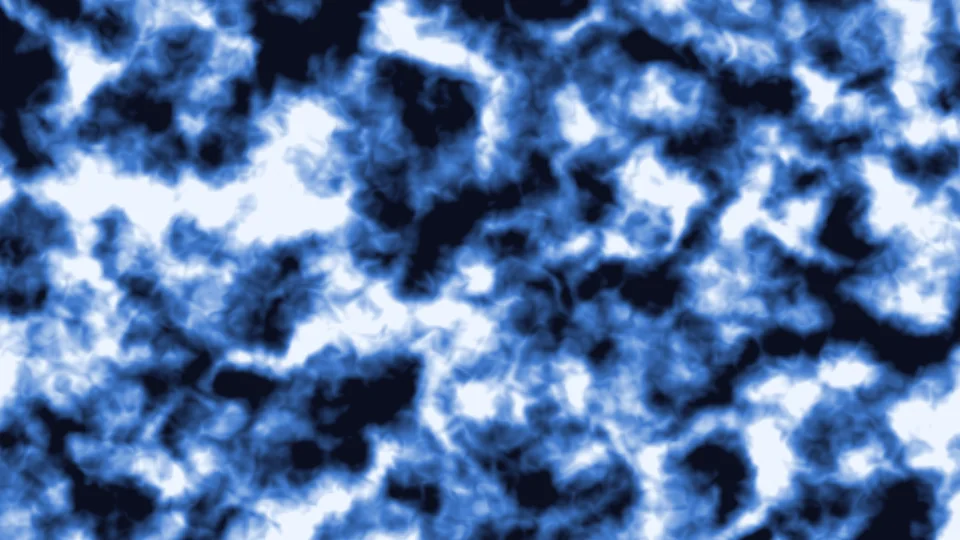
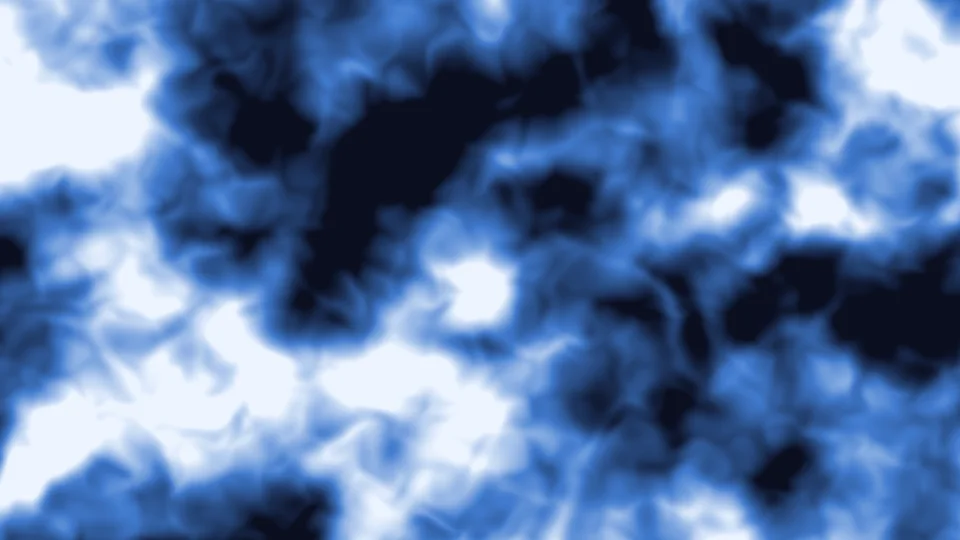
“Detail” sets how many finer layers are stacked: 0 is a single smooth layer, higher is grittier and more textured (only layered types have this slider). “Size” scales the whole noise field; position and rotation are there too, all keyframable.
Details
Size %
Coloring
The noise’s color
is yours to paint.
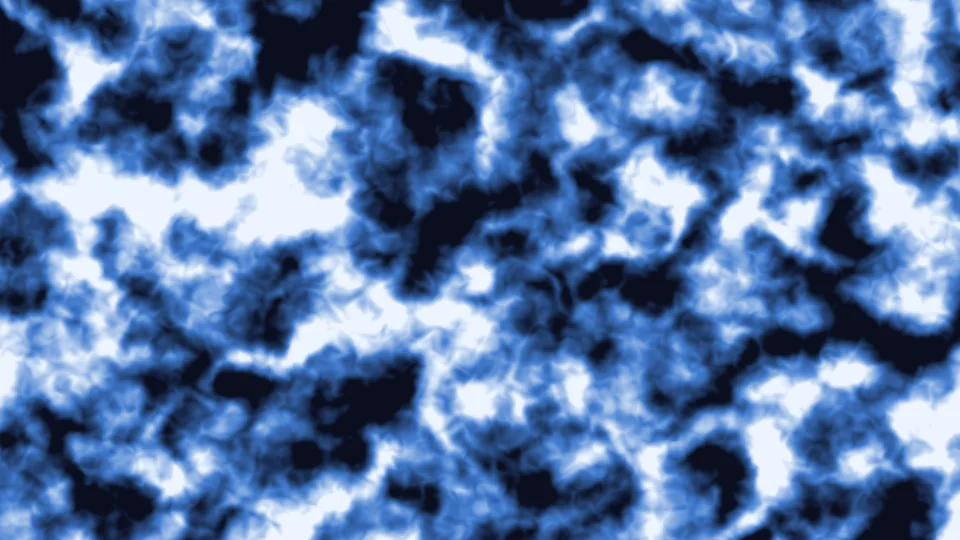
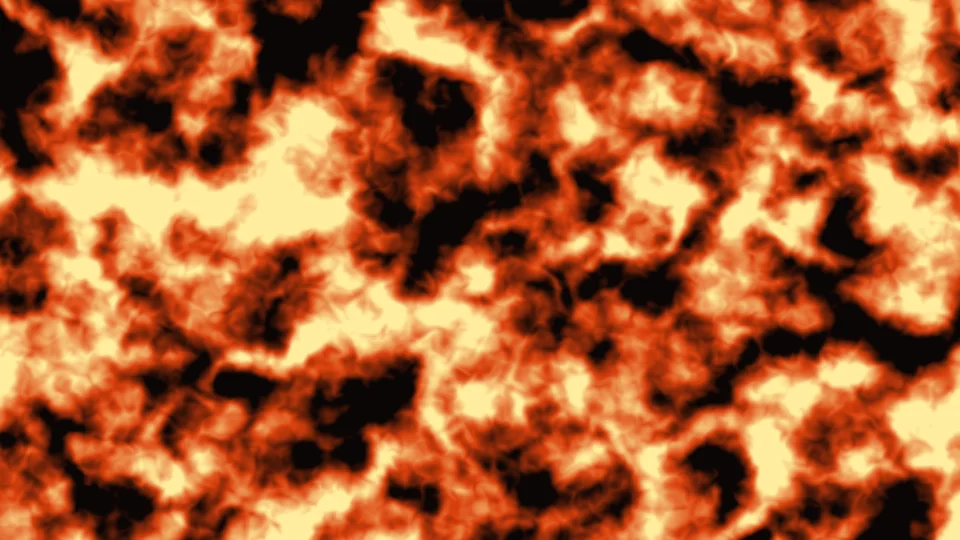
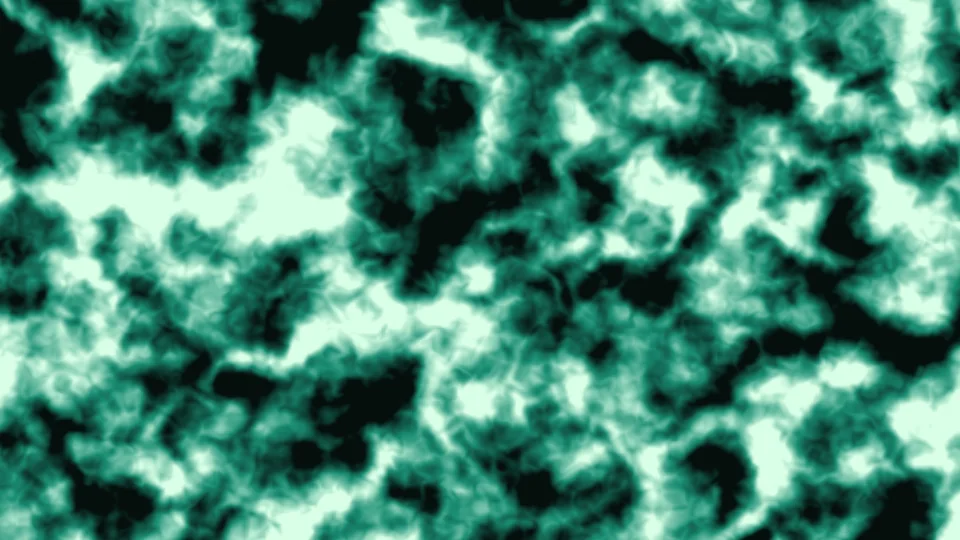
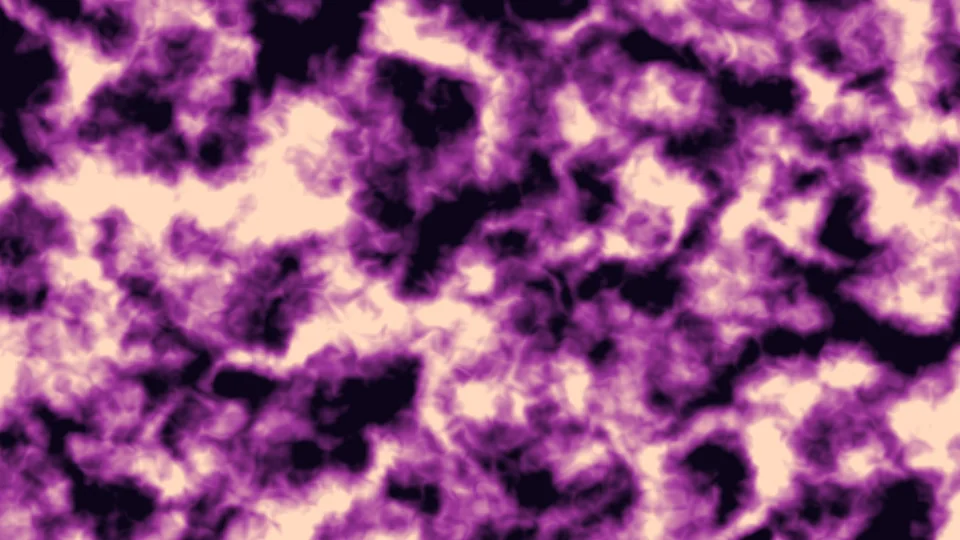
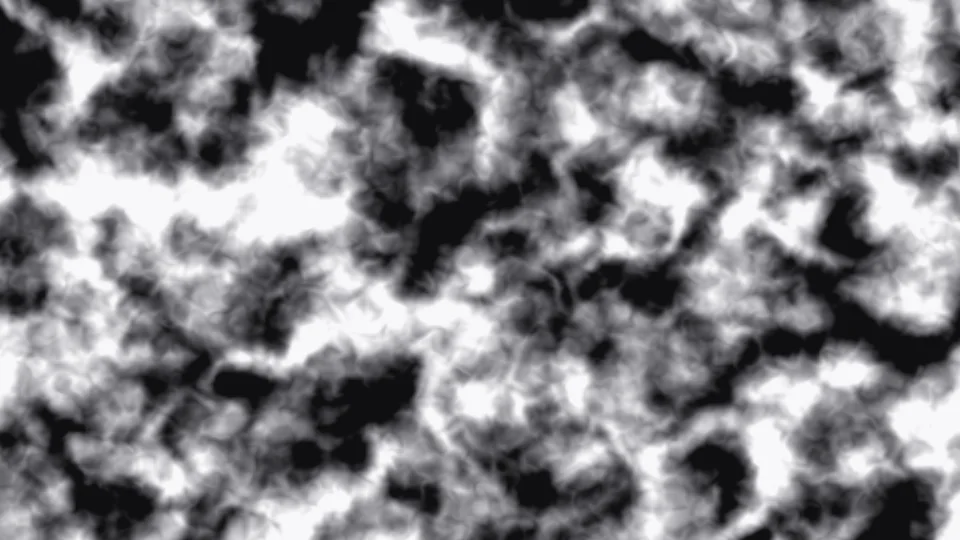
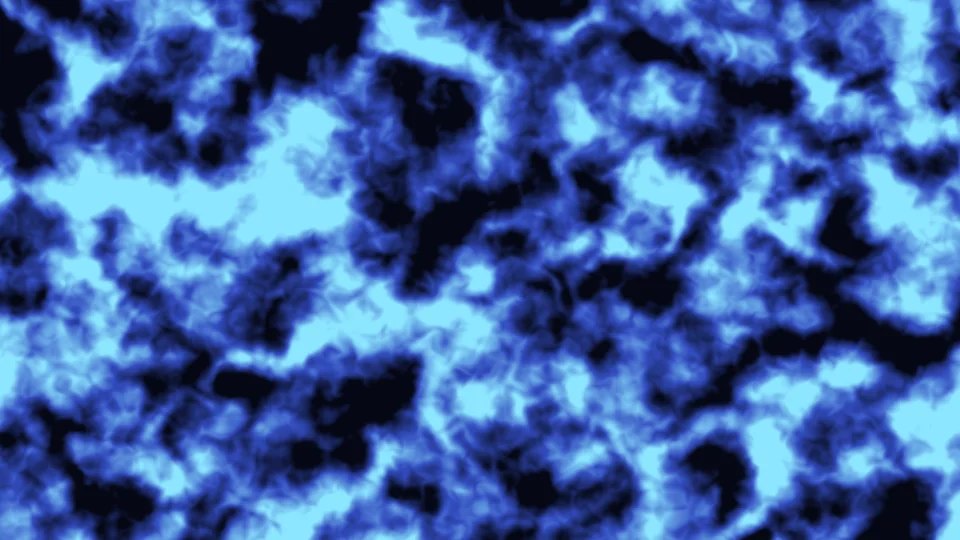
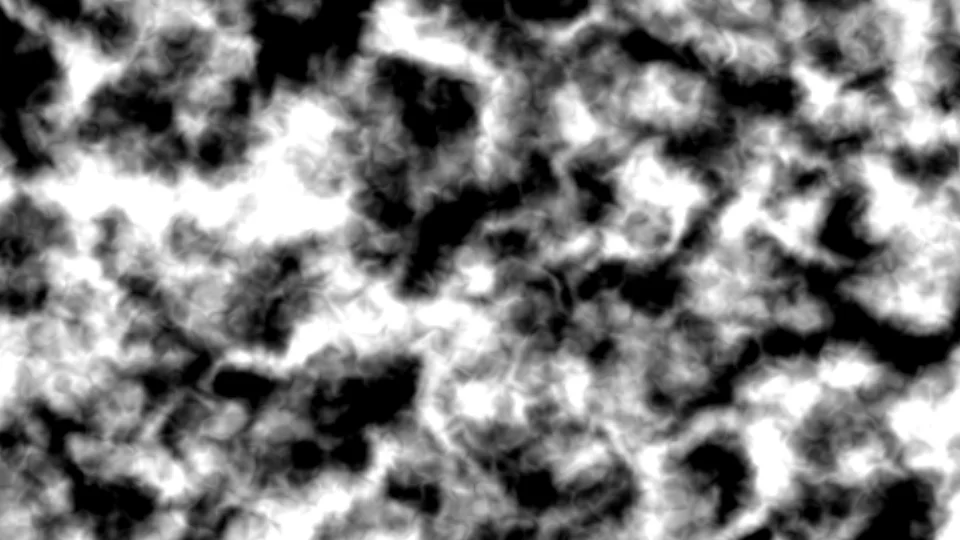
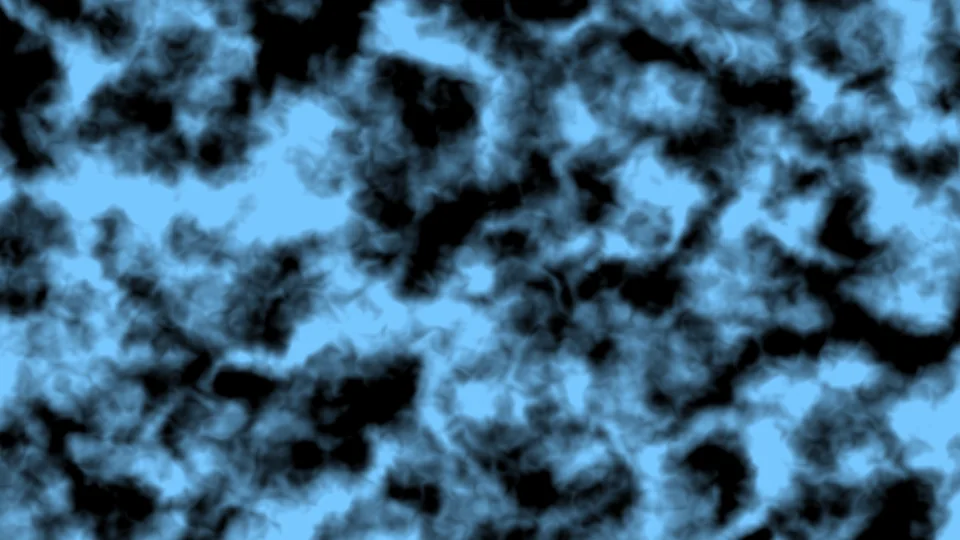
Three coloring modes: grayscale, gradient, solid. Gradients take extra stops you can drag, with per-stop opacity, a swatch library, saving as your own and one-click reverse. Below is the same cloud field with different coloring.
Range
Only inside the text,
or only outside it.
“Range” reads the layer’s shape (text or shape layers): inside, edge or outside, with edge width, softness and distance falloff adjustable, and the range can be inverted. “Output” can give noise only, noise over the source (six blend modes), an alpha matte, or use the noise to distort the source.



⏩ Auto
Appear, flicker, breathe —
no keyframes needed.
“Auto In/Out” grows the noise in at the layer’s in point and pulls it back at the out point (grow or fade); “Flicker” offers neon, candle and glitch; “Breathe” pulses brightness or size; “Auto Reseed” switches to a new seed every few seconds with an adjustable transition.
What’s different
Making a noise field —
Noise wants to cost you less time.
| What you want | The usual way | ASheng Noise |
|---|---|---|
| Coloring | Make the noise, then stack gradient or color effects | Gradient, grayscale and solid built in, gradients with opacity |
| Adjusting highs and lows | Add curves or levels | Highlights, shadows and hardness sliders; 100% is as-is |
| Making it move | Keyframe evolution | ⏩ Motion slow/medium/fast, six flow modes |
| Making a loop | Work out the timing and match the seam yourself | Set “Loop Seconds”; second N equals second 0 |
| Only inside text or shapes | Make a separate mask and stack another layer | Range: inside, edge, outside, read straight from the layer shape |
| Appearing and flickering | A row of keyframes on opacity | ⏩ Auto in/out, flicker, breathe, auto reseed |
| Render speed | All CPU rendering | Noise values on the Apple Silicon GPU (Metal), falling back to CPU automatically |
Getting started
Three steps to get going.
Requires an Apple Silicon (M-series) Mac, macOS 14 or later and After Effects 2026. No Intel Mac or Windows version yet.
- Download the installer
Click “Download for Mac” on this page and unzip. The installer is notarized by Apple.
- Quit AE, then install
Save your project, quit After Effects completely with Cmd+Q, then open the installer.
- Add it to a layer
Reopen AE, find ASheng_T_Noise under “Effect → ASheng - Texture”, and add it to a solid, adjustment, text or shape layer.
Good to know
Where is it in AE?
Effect menu: ASheng - Texture → ASheng_T_Noise. The T prefix stands for the Texture category; the product itself is ASheng Noise.
Does the Golden Pass cover it?
Yes. The Golden Pass covers every ASheng AE plugin, including future releases, so Noise activates directly.
Do I really not need keyframes?
Set “⏩ Motion” to slow, medium or fast and it moves on its own. For manual control choose “Still” or “Custom”; every parameter can still be keyframed.
Which layers can I use it on?
A solid or adjustment layer is simplest; text and shape layers work too, with “Range” keeping the noise inside, on the edge or outside the letters. “Position”, “Rotation” and “Size” move the whole field.
Which bit depths are supported?
8-, 16- and 32-bit are all supported.
Does it use the GPU?
Yes. Noise values are computed on the Apple Silicon GPU (Metal); when the GPU is unavailable it falls back to the CPU with the same result, only slower.
Can I use it without a license?
Yes, you can try it with a watermark on the output. With a valid Noise license NFT or Golden Pass, click “Activate / Manage License” in the “License” group of the effect panel to activate.